Working with the wrong company in your wine cellar installation project will definitely result in huge disappointments!
Because building a wine cellar isn’t just about turning a plain old room into a refrigerated room. It’s about creating a space that is a masterful blend of technical know-how and beauty.
Don’t want to make the mistake of hiring someone who has one, but not both of these skills? Then take a look at howl Arctic MetalWorks applied their expertise and experience in transforming an unremarkable kitchen pantry into a sophisticated home wine cellar in Corona, California.
Converting a Small Space Into an Elegant Home Wine Cellar
Nowadays, any space in your home can be converted into a functional and safe wine storage and display area. But who should do the work?
In Corona California, Todd H., the owner of a high-end home and a wine collector, wanted to transform his small pantry into an elegant custom wine cellar. He searched online and found a few wine cellar builders nearby.
He ended up choosing Arctic MetalWorks because of their proven attention to detail, competitive prices, and excellent customer service. He gave David a call.
Of course, David and his team assessed the space before tackling the design. This helped them determine the right components and the best solutions to possible building challenges – given the size and location of the space.
The Build-Out Process and Challenge in this Pantry Wine Cellar Installation in Corona
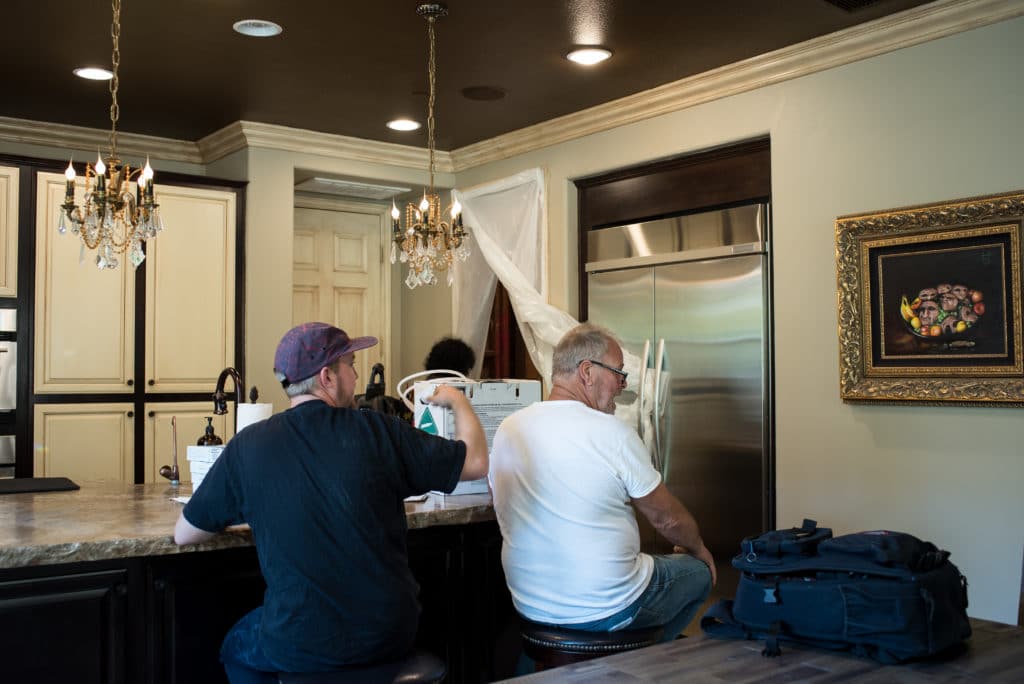
David and the team prepare for the pantry renovation. The 100 sq. ft. space is behind the white plastic sheeting next to the refrigerator.
David had to work with a 100 square-foot kitchen pantry. The space had existing shelves and cabinetry. It needed a full build-out to achieve and maintain temperatures between 55-65 degrees Fahrenheit and humidity levels ranging from 60 to 70%.
First, the walls were stripped down. Then it was re-framed and pre-wired for the electrical needs.
Installing the Correct Wine Room Insulation, Adding the New Drywall and Applying Paint
Insulating the walls and ceiling, and adding a vapor barrier are standard procedures in building a refrigerated wine cellar. If you want your cellar to last, these steps must be handled by a professional. Inferior storage conditions can definitely be caused by poor insulation – or the absence of insulation all together!
Insulation controls the temperature and humidity levels. Without it, wine becomes unstable, possibly losing a great deal of its taste and aroma.
While David and his team were busy getting the space prepared for correct temperatures and humidity levels, the Canyon Fire broke out in the hills surrounding Corona. You can read more about David’s response to the fire here!
Insulation of the Walls and Ceilings
Correct insulation will also prevent your wine cooling system from working excessively, helping your refrigeration equipment to have a longer lifespan. Breakdowns mean more expenses for the repair or replacement of your cooling unit.
A vapor barrier prevents moisture from coming right thru the walls, soaking your insulation, and destroying your wine cellar. It must be installed on the warm side of the wall.
In this project, Arctic MetalWorks provided some type of backing to hold the insulation. They sprayed the ceiling with polyurethane foam insulation, which was made up of a mixture of liquid components that expand into foam. They did the same on all of the walls.
The polyurethane spray foam can also act as a vapor barrier that will prevent moisture from intruding from up above. After insulating the room, David’s team constructed a new drywall and painted it with an off-white color.
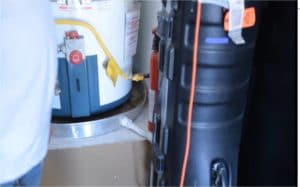
Right under the left wall is the hot water compartment located in the garage. They had to install higher insulation on that wall.
Door Insulation
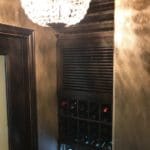
They also insulated the arched wine cellar door (with a grapevine design), which was originally a rectangular door. They equipped it with weather stripping and an automatic door bottom.
This door was made using double pane glass. The edges of the two glass panes were sealed, and the small space in between them prevents condensation formation on the glass or around the entryway
Custom Wine Racks
After sealing the wine room, the next step taken by Arctic MetalWorks in building this wine cellar in California was to install the custom wine racks.
They utilized three walls in this project. They provided a space for the cooling unit within the racking. Some walls were voluptuous; this was a challenge to them.
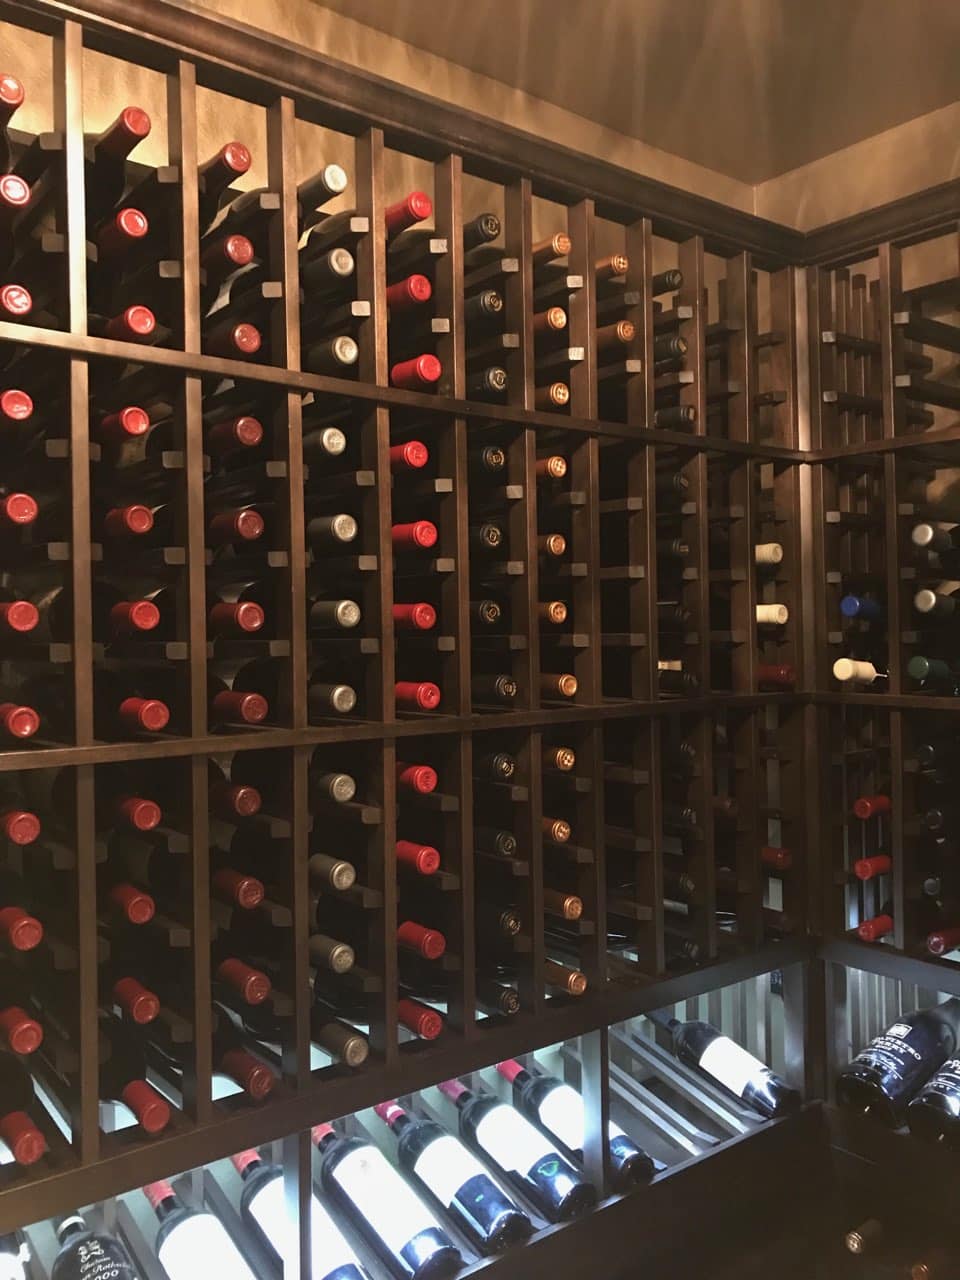
Despite the space constraints and curved walls, they were able to come up with a racking design that would store 1,500 bottles. To maximize the space, they installed double-deep wine racks, which store two bottles in each slot (one bottle in front of another).
Bottle Configurations
Arctic MetalWorks combined different bottle orientations to create a unique wine display and to maximize the capacity of the small pantry. They incorporate individual wine racks at the top section of the back wall.
You will find a high reveal display row running at the middle section. It highlights some of the owner’s favorite vintages at an angle and keeps the cork moist. When the cork dries out, it loses its elasticity. When this happens, it will allow an unwanted amount of air to enter the bottle and mix with the wine. This is also the reason why proper wine cellar lighting should be installed.
Installing the Wine Cellar Cooling System
The refrigeration unit used was a split system. With this type of refrigeration system, the evaporator and condenser must be installed separately. The evaporator must be in the wine cellar and the condenser in another room or a location outdoors. A well-ventilated room is required for hot air exhaust.
In this wine cellar installation project in Corona, Arctic MetalWorks mounted the cooling unit on one of the walls in the garage. They recommended that the condenser must be placed outdoors for better heat dissipation and to lower energy consumption. However, the client decided to use the garage as the exhaust room.
Power Source and Drain Line
David used the water heater in the garage as the power source for the wine cooling system. The refrigeration unit requires 15-ampere power to function.
He wanted the drain to go down to a mini pan where the heater was. In cases where there is no existing drain, your builder will have to pump.
Length of Time to Complete the Wine Cellar Installation Project in Corona, California
The estimated completion time of this wine cellar build-out project was almost two months. David and his team did the job at their own pace, making sure that everything they did was perfect.
Manufacturing, delivering, and installing the wine racks took about seven weeks. Attaching the wine cooling system took about 5 hours.
Transform Your Space Into a Stunning Wine Storage and Display Area
Arctic MetalWorks has completed many wine cellar installation projects in California. In this particular project in Corona, they were able to overcome several challenges throughout the construction process, and ended up with a wow-worthy wine room!
Their goal is to exceed their client’s expectations. Need help? Contact David at +1 (714) 936-3905!!!
Photo Gallery
- Left Wall Racking Wine Cellar Installation Project in Corona California
- David Gype, Wine Celllar Installation Specialists
- Wine Cellar Cooling System Drain Line
- The Room was Framed Before Wine Cellar Installation Corona California
- David, Owner of Arctic MetalWorks
- Left Wall of the Pantry is Right Above the Water Heater in the Garage
- Framed Home Wine Cellar in Corona
- Corona Home Wine Cellar Wiring and Framing
- Wine Room Preparation for Wine Cellar Construction
- Framing and Wiring of the Wine Room
